


Views: 220 Author: Bohui Electric Publish Time: 2026-07-24 Origin: Site


Content Menu
● Step 4: Bring The Cable Into The Box
● Step 5: Make The Wire Connections
● Step 6: Fold Wires And Close The Box
● When A Ceiling Fan Is Involved
● Commercial And Industrial Considerations
● FAQ
>> 1. Can I install a ceiling junction box myself?
>> 2. What kind of box should I use for a ceiling light?
>> 3. Do ceiling junction boxes need to stay accessible?
>> 4. Can I use the same box for a ceiling fan?
>> 5. How do I know if the box is too small?

A ceiling junction box is the approved enclosure for electrical wire connections. It protects the splice point, supports the fixture, and helps keep the installation organized. In real projects, the difference between a reliable ceiling installation and a problematic one often comes down to box selection, mounting method, and attention to detail.
This guide explains how to install a junction box in the ceiling step by step. It also covers common mistakes, box selection, and the practical points that matter most in residential, commercial, and industrial applications.
A ceiling junction box is more than a container for wires. It gives the fixture a stable mounting point and helps reduce the risk of loose connections, overheating, and accidental damage.
For overhead applications, the box must handle both the electrical connection and the physical load. That is especially important for ceiling lights, fans, and other suspended fixtures. If the wrong box is used, the installation may look complete on the surface but fail in daily use.
Before any wiring work, turn off the power at the breaker and confirm that the circuit is de-energized with a tester. Never rely only on a switch position or panel label.
Next, check the ceiling structure. You need to know whether the box will attach to a joist, a blocking piece, or an adjustable hanger bar. If the fixture may later become a fan, choose a fan-rated box from the start.
Also confirm that the box will remain accessible after the ceiling is finished. A junction box should not be hidden behind drywall or other permanent building material.
The first step is selecting a box that fits the application. A standard light fixture box is not always suitable for a heavier fixture or a ceiling fan.
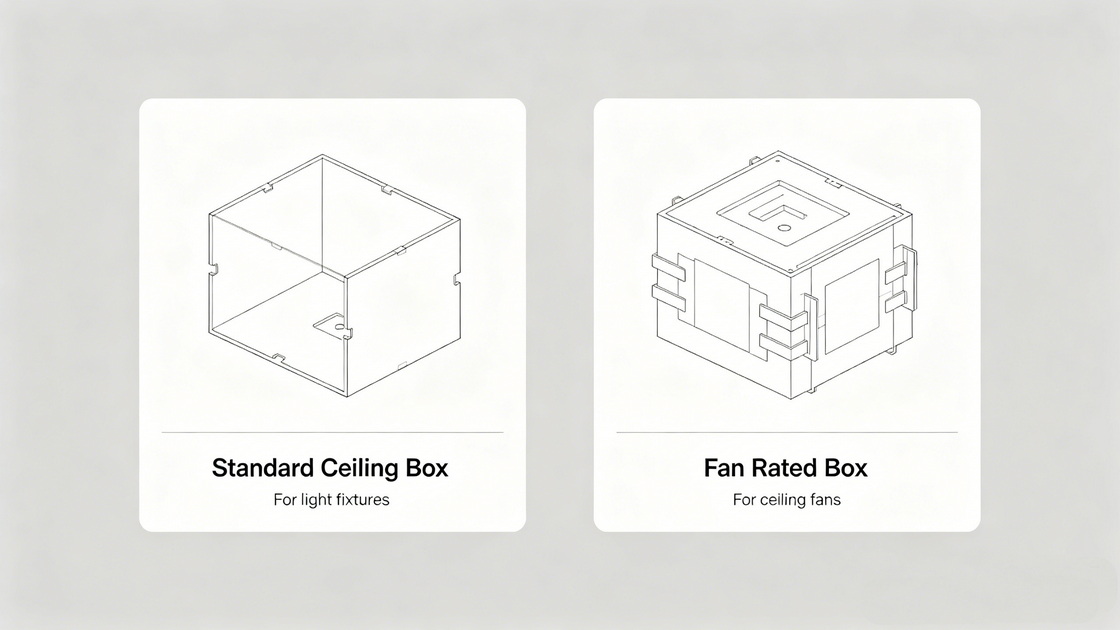
Use the following simple guide:
| Installation need | Box type | Best use |
|---|---|---|
| Standard ceiling light | Standard ceiling box | Light fixtures and small overhead loads |
| Ceiling fan | Fan-rated box | Heavier suspended loads and vibration |
| Between joists | Box with hanger bar | Retrofits and open-span placement |
| Industrial or custom enclosure | Metal enclosure | Durable applications and long-term service |
The box must also be large enough for the wires inside it. If too many conductors are forced into a small box, the installation becomes harder to work with and less reliable over time.
Prepare the following items before starting:
- Voltage tester.
- Screwdriver.
- Wire stripper.
- Pliers.
- Wire connectors.
- Electrical tape.
- Ceiling junction box.
- Screws or mounting hardware.
- Drill and saw, if opening the ceiling is needed.
Having all tools ready reduces mistakes and makes the job smoother from start to finish.
Choose the box location carefully. The fixture should be centered where needed and aligned with the room layout. Use a stud finder or similar method to locate joists before cutting any opening.
If the box will sit between joists, plan for a support bar. If it will fasten directly to a joist, make sure the mounting surface is strong enough for the intended fixture.
Cut the ceiling opening only after you confirm the box position. Keep the opening neat and just large enough for the box to fit properly.
A clean opening makes installation easier and improves the final appearance. If the opening is too large, the box may not sit securely and the trim may not cover the gap well.
Mount the box firmly to the joist, blocking, or hanger bar. The box must not move when the fixture is attached.
Use the correct screws or fasteners for the ceiling material and the box design. If the box is adjustable, set it so the front edge sits at the proper level for the finished surface.
This step is critical because the box supports the fixture's weight and helps keep the entire installation stable.
Feed the electrical cable into the box through the proper opening or clamp. Leave enough wire length to make the connections comfortably.
Do not leave the conductors too short. A cramped box makes wiring difficult and can put stress on the splice points. Good wire management starts with enough slack for safe installation.
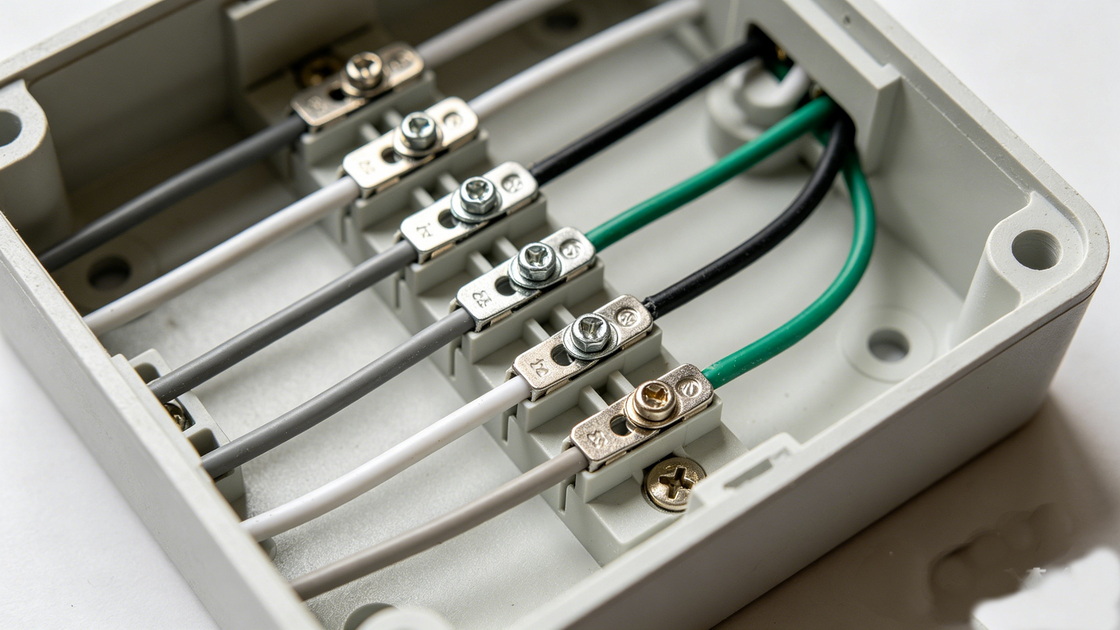
Strip the wire ends carefully and connect them according to the circuit design. Typically, this includes the hot wire, neutral wire, and ground wire.
Use approved wire connectors and make sure each connection is tight. Give each splice a gentle pull to check that it is secure. If a metal box is used, grounding must be done properly.
Organize the wires so they fold neatly into the box without pinching or twisting them excessively.
After the connections are complete, fold the wires back into the box with care. The conductors should sit in the enclosure without pressure on the connections.
If the box is too full, stop and reassess. A crowded box is harder to close and creates unnecessary strain on the wiring. A properly sized box gives you enough room for safe bends and a cleaner finish.
Attach the light fixture, fan canopy, or other ceiling device according to the manufacturer's instructions. Make sure the mounting hardware is secure before restoring power.
Once the fixture is in place, switch the power back on and test the circuit. The fixture should operate normally without flicker, noise, or movement.
Many ceiling box problems come from avoidable installation errors. The most common include:
- Using a box that is too small.
- Mounting the box weakly.
- Hiding the box behind finished surfaces.
- Using a standard box for a ceiling fan.
- Leaving wires too short.
- Skipping the ground connection on metal boxes.
Each of these mistakes can cause trouble later. A ceiling installation may appear fine at first, but poor preparation often leads to service issues, noise, or unsafe conditions.
A few practical habits can improve the result significantly.
First, think ahead before choosing the box. If there is even a small chance the fixture may later be replaced by a fan, select a fan-rated box now.
Second, keep the wiring neat inside the box. Organized conductors make future servicing easier and reduce the chance of pinched insulation.
Third, use a box with enough internal capacity for the wire count and device load. A larger, better-planned box is usually easier to work with than a box that feels barely adequate.
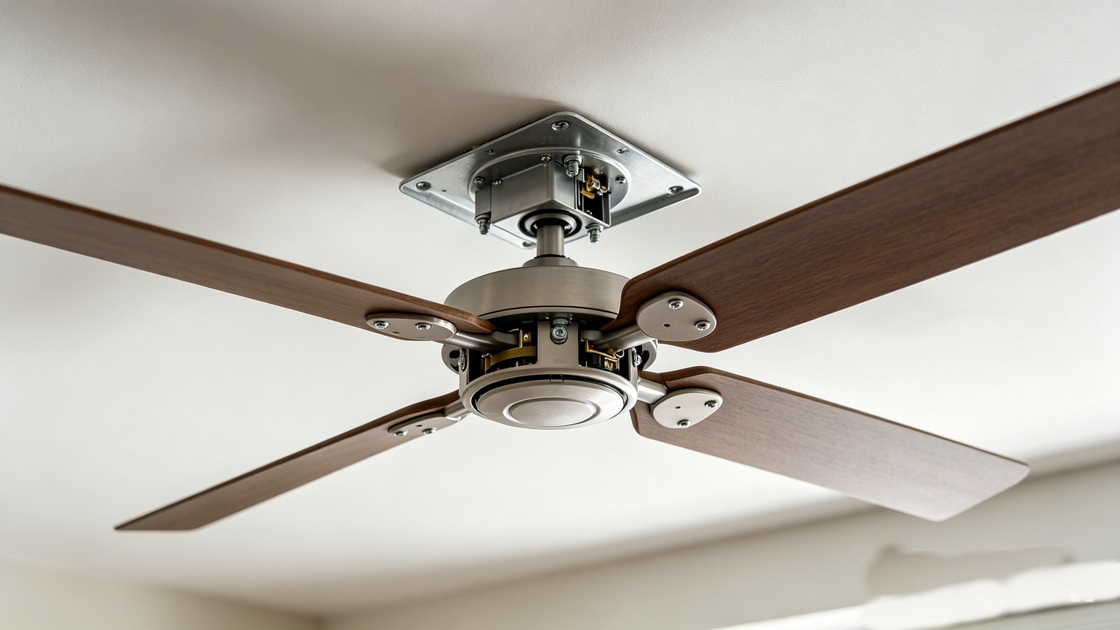
A ceiling fan creates more mechanical stress than a standard light fixture. Because of that, the box must be specifically rated for fan support.
Do not assume a normal ceiling light box is strong enough. The fan's movement and vibration can loosen weak mounting over time. A fan-rated box is the safer choice whenever the final fixture might include a fan.
In commercial and industrial projects, ceiling box selection often goes beyond basic fixture support. The enclosure may need to withstand heavier use, frequent maintenance, or more demanding environments.
Metal enclosures are often preferred where durability matters. For manufacturing, warehouse, communication, building, and energy-related applications, the enclosure design should support reliable wiring, secure mounting, and long service life.
A well-made electrical sheet metal enclosure is not only a component. It is part of the overall safety and maintenance strategy for the building or system.
Installing a junction box in the ceiling is straightforward when the box is chosen correctly, mounted securely, and wired with care. The most important priorities are safety, accessibility, and proper support.
A successful installation is not just about completing the wiring. It is about building a ceiling fixture point that remains safe, neat, and serviceable over time.
Yes, many people can complete the task if they understand electrical safety and basic wiring. If the circuit layout is unclear or the ceiling structure is complicated, a licensed electrician is the better choice.
A standard ceiling box is usually suitable for a regular light fixture. The box should still be rated for the fixture's weight and installed securely.
Yes. A junction box should remain accessible after installation so the wiring can be inspected or serviced later.
Only if the box is specifically rated for fan support. A standard light fixture box may not be strong enough for the load and vibration of a fan.
If the wires are crowded, difficult to arrange, or hard to close inside the box, it is probably too small. The box should allow comfortable wire bends and secure connections.
1. This Old House — [How to Install a Junction Box]
2. Fine Homebuilding — [Installing Ceiling Boxes]
3. Electrical License Renewal — [NEC 314.29 Accessibility Guidance]
4. EPCO Installation Guide — [Junction Box Installation PDF]
5. Home Depot — [Ceiling Light Installation Instructions]
6. ECMag — [Box-Fill Calculations]
7. Electrical License Renewal — [Fan Outlet Box Guidance]

2026-07-26
2026-07-24


